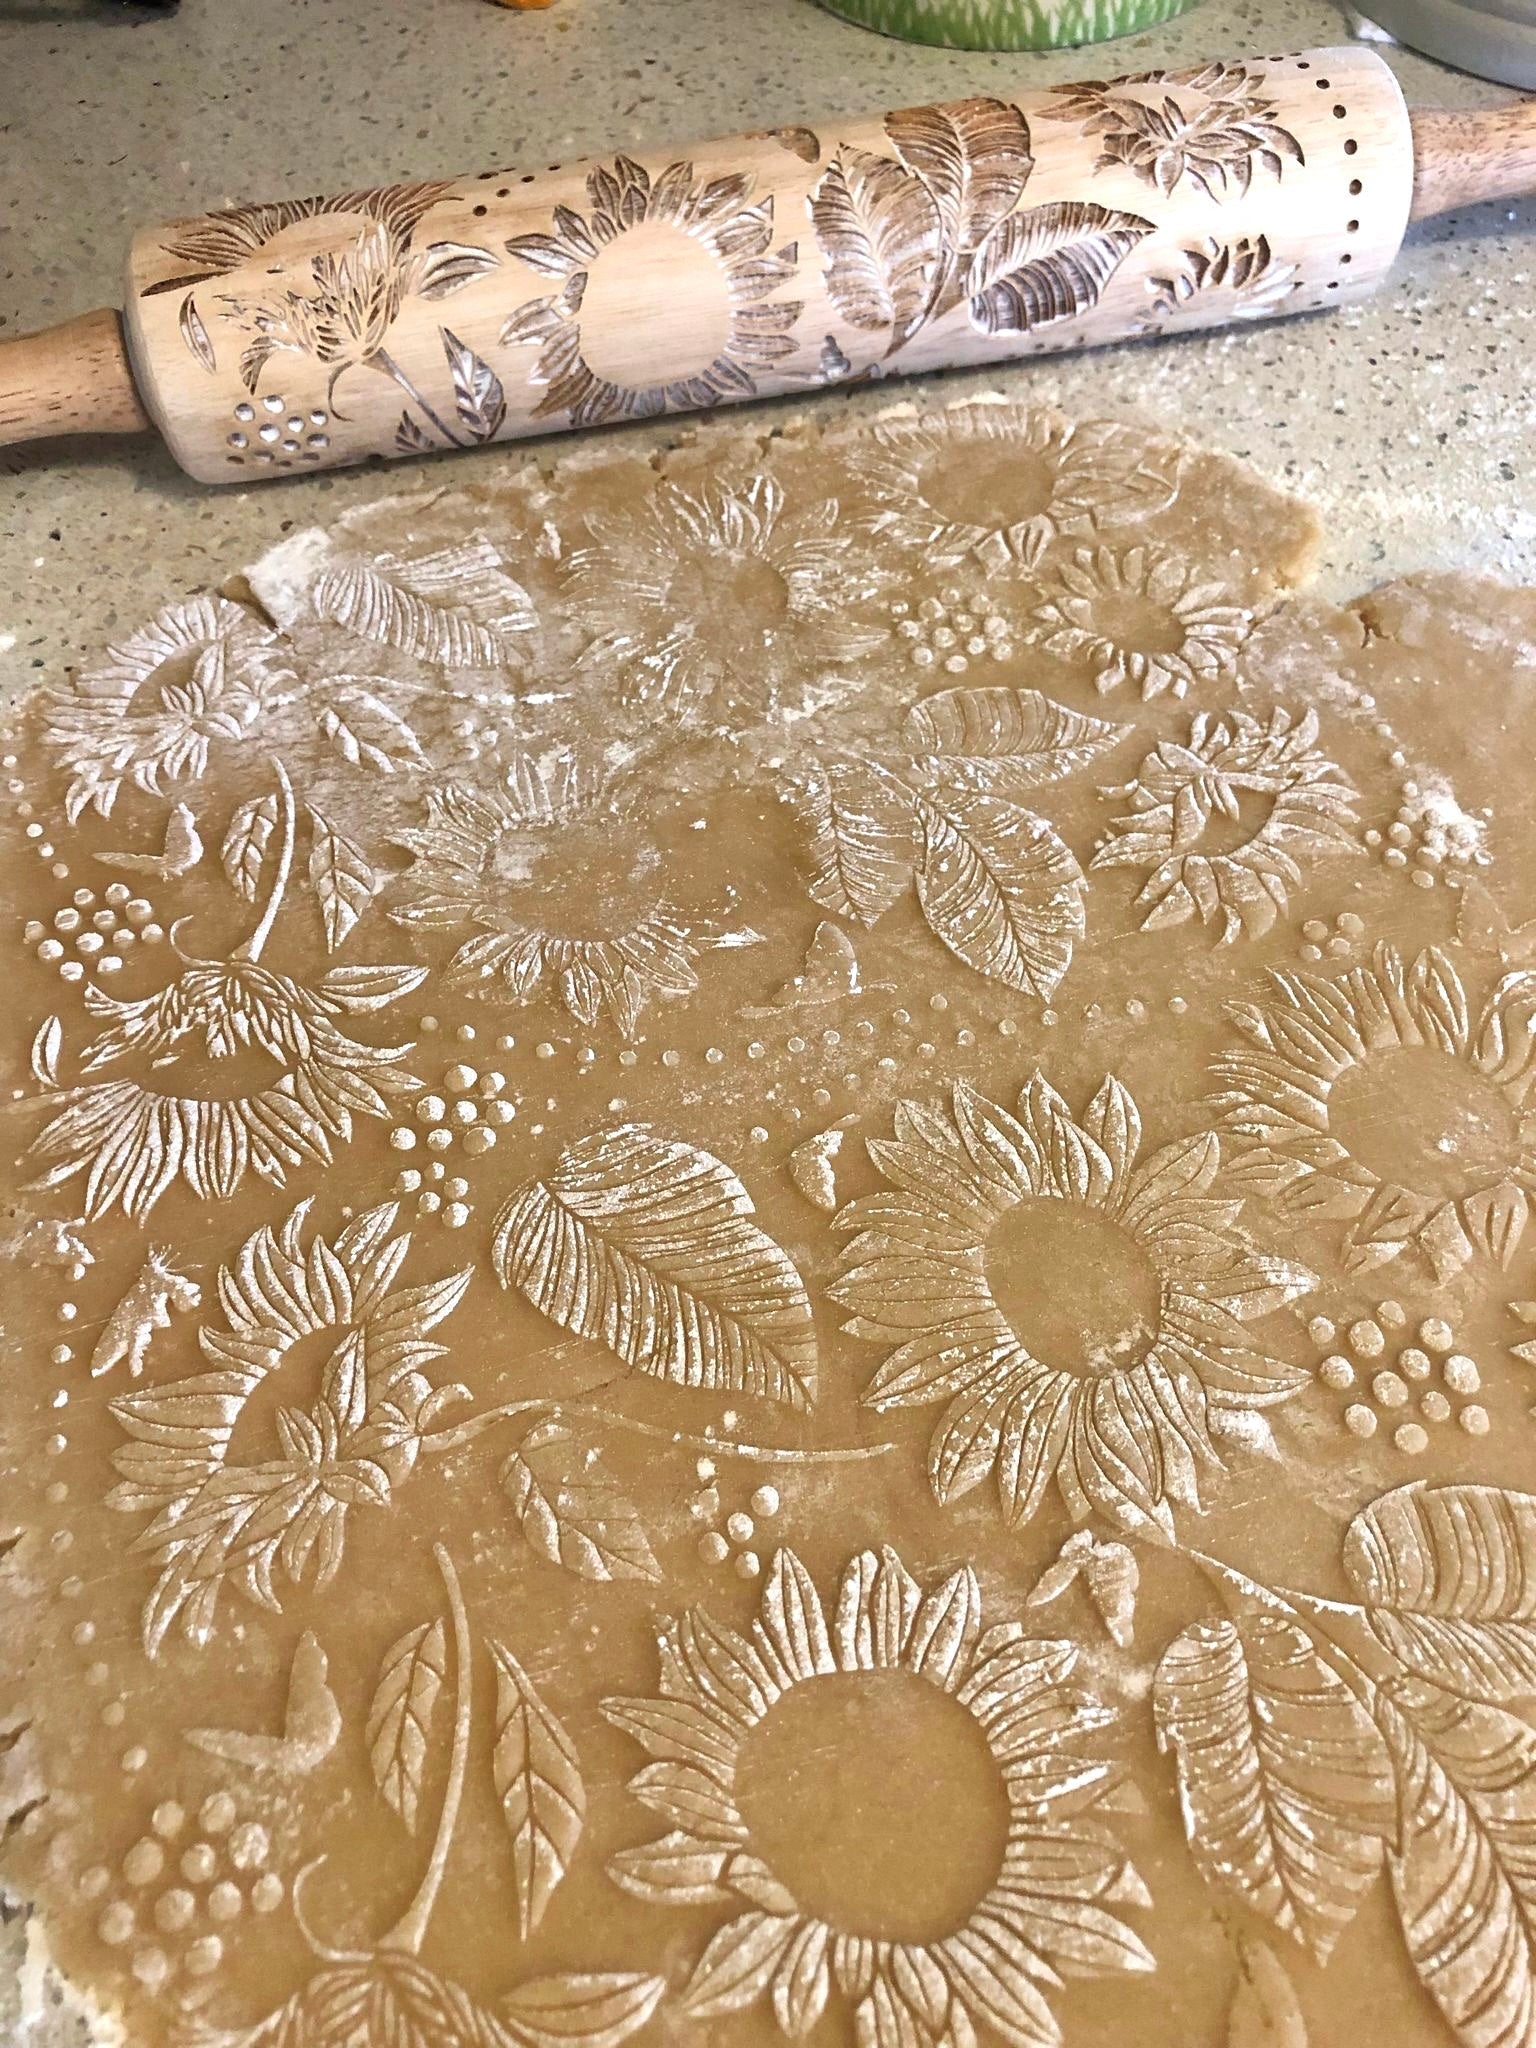
Cookie Dough and Textured Rolling Pins
Using an engraved rolling pin can elevate your cookie decorating game, but proper preparation is key to achieving flawless results. Here’s a simple guide to getting your rolling pin ready for that perfect batch of cookies.
Choose the Right Dough
Start with a cookie dough that is well-chilled and slightly firm. Refrigerating your dough for at least 30 minutes makes it easier to roll out and helps prevent sticking. Popular choices include sugar cookie dough or shortbread, as they hold their shape well during baking.
Lightly Flour Your Surface
Before rolling out your dough, sprinkle a light layer of flour on your work surface. This helps prevent the dough from sticking and allows the engraved patterns to impress beautifully without resistance.
Prepare the Rolling Pin
Dust the engraved rolling pin with a bit of flour. This step is crucial to avoid the dough adhering to the engraved designs. Ensure you cover all the engraved areas lightly, but don’t overdo it—excess flour can affect the final appearance of your cookies. You could also try powdered sugar as well!
Roll Out the Dough
Place your chilled dough on the floured surface and gently flatten it with your hands or rolling pin. Using even pressure, roll the dough to your desired thickness, typically about ¼ inch. Make sure to roll in all directions to maintain an even surface.
Photo credit: Sweet Rolling Pins using “Sunflower” rolling pin pattern

